Using iOS Samples
Overview
This section describes how to build and deploy the samples on an iOS device, and how to modify the licenses used by the samples, which are for the moment hardcoded in the application’s source code.
Prerequisites
Host setup
To be able to build the sample applications, the host computer must have Xcode Application installed:
However, the SmartCapture sample application requires Xcode 8 or later, as it is built using Swift 5.
| The SDK for iOS is not dependent on any Swift version; it is a prerequisite of the sample itself, not of the SDK. |
How to run a sample with Xcode
Open the project
The sample applications sources are located in the folder <iDRS_toolkit>/samples/<sample_name>, where <iDRS_toolkit> is the path to the iDRS toolkit root folder and <sample_name> the sample name (e.g. SmartCapture)
To load a project within Xcode, use Finder to browse to the sample’s source folder, then double-click on the project file (.xcodeproj extension).

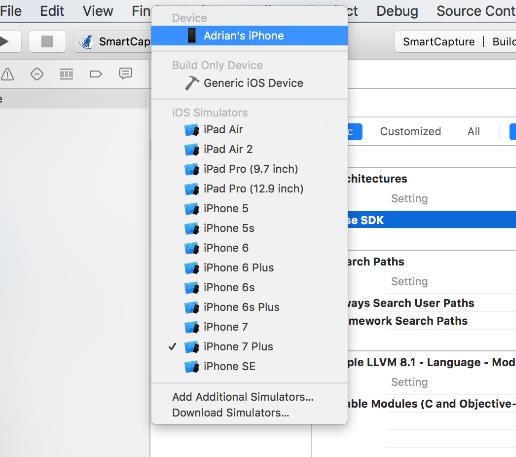
Select the target device
To compile and run the sample application on a real device, you need to have the device plugged to the computer, and a developer profile available (go to https://developer.apple.com/library/ios/documentation/IDEs/Conceptual/AppDistributionGuide/MaintainingCertificates/MaintainingCertificates.html for more information about profiles).
Then, you can select the device from the XCode interface.
Notes on sample applications
Modifying the hardcoded licenses
The licenses are hardcoded in the native header of the source files:
-
SmartCapture:
SmartCapture/src/idrs_licenses.h
#define IDRS_LICENSE_IMAGE_FILE "IDRS_TRIAL_IMAGE_FILE_IRIS_*****"

#define IDRS_LICENSE_PREPRO "IDRS_TRIAL_PREPRO_IRIS_*****"

#define IDRS_LICENSE_OCR "IDRS_TRIAL_OCR_IRIS_*****"
To update the licenses, simply modify the define values with the new licenses; then rebuild the application to update it.
Recognition languages selection
The languages available for recognition in the samples are hardcoded in their source code. Note that this limitation does not apply to the toolkit: at the moment, the toolkit is able to recognize all the languages available on desktop masters.
The Language enum exposes all the available languages for the toolkit, and is defined in the header file <iDRS_toolkit>/include/Language.h:
enum Language
{
  /**
  * \brief English (American)
  */
  English = 0,
  /**
  * \brief German
  */
  German = 1,
  /**
  * \brief French
  */
  French = 2,
  /**
  * \brief Spanish
  */
  Spanish = 3,
  […]
SmartCapture
In the SmartCapture sample, a selection screen allows you to modify the recognition language; for the sake of simplifying the layout, only a subset of languages is exposed to the application user:
-
English
-
French
-
German
-
Spanish
-
Italian
-
Dutch
-
Japanese
-
Simplified Chinese
-
Traditional Chinese
-
Korean
Image capture feature
The sample application SmartCapture is a complete application that can convert images taken from the camera or from the gallery to a wide range of document formats, including PDF and DOCX.
The application workflow is split in several distinct steps, so that you can understand easily the various use cases the iDRS™ technology can address.
One of the most interesting feature illustrated is the image capture step: the sample application can automatically select the best frame from the video stream of the device’s camera by using the hardware status information and the iDRS™ mobile capture technology.
The following elements are monitored:
-
Document exposure: does the scene receive enough light?
-
Camera focus: is the camera lens focused?
-
Device stability: isn’t the device shaking?
-
Document corners: have the corners of the document been detected?
-
Size of target area (document): is the document large enough compared to the picture size?
-
OCR quality: is the document’s quality for running OCR good enough?
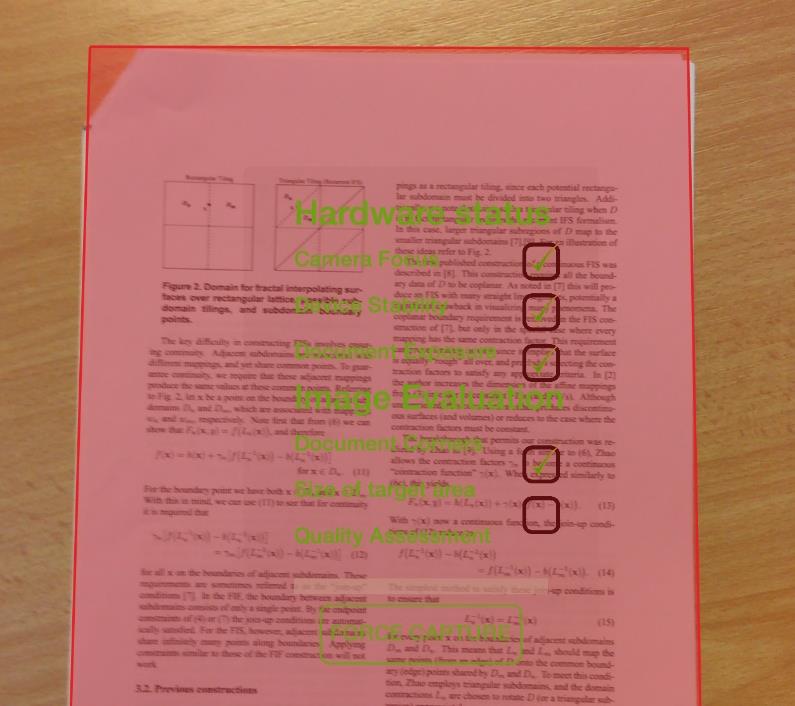
In the SmartCapture sample application, those information are displayed on the capture view. However, you may want to remove some or all of the indicators for your own application…